Things I Love Thursday – Mind on Design Bath Mats

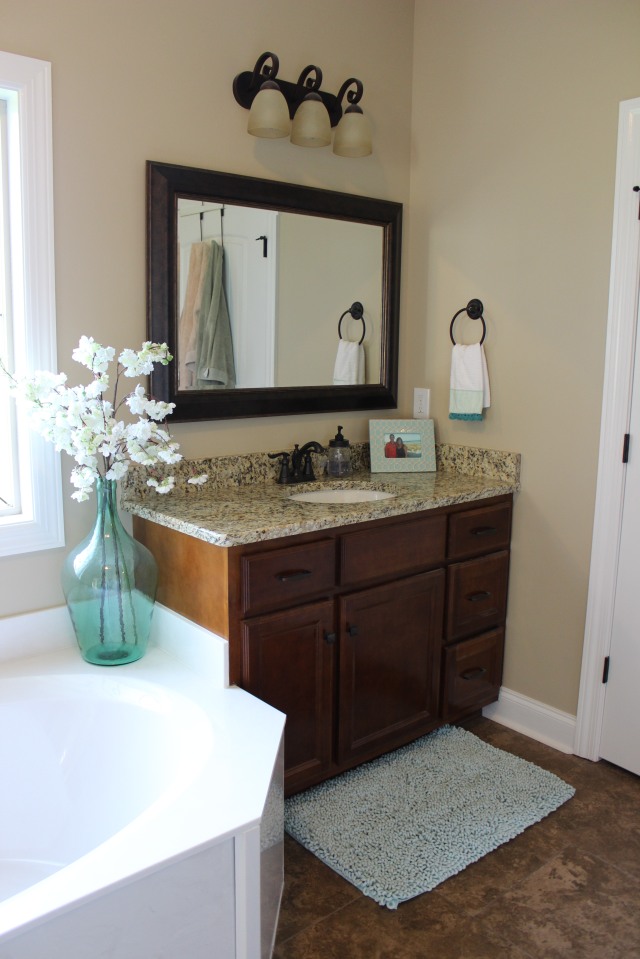
Bath mats have been on my wish list for our Master Bathroom for a while now. We had some small brown ones that were just getting us by until I found what I really wanted. I was looking for something brighter to contrast with our dark tile and some larger ones that filled the space better.

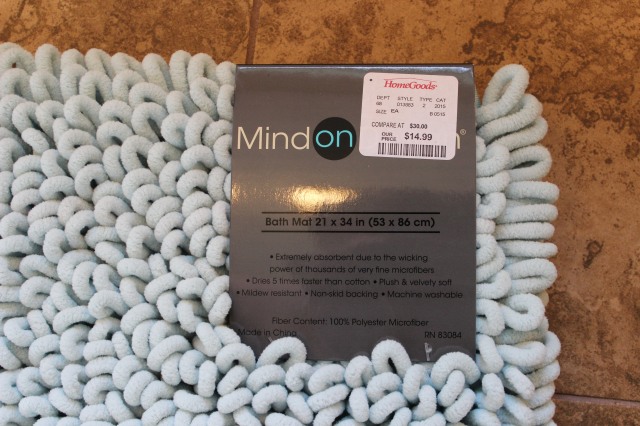
I ran across these mats with my mom at Home Goods and oh my goodness…you guys, they are heavenly. It feels like you’re standing on clouds, I swear! They are AMAZING!!!  They’re the Mind on Design brand and it’s the kind that is loops, they have a couple different styles but these are my FAVORITE!

I am using two that matched the walls in our bedroom to help compliment the adjoining space and then I got one larger tan one for in front of the shower.  My only complaint is that it’s tough to find a matching set. I looked at all the TJMaxx, Marshalls and Home Goods in our area with no luck finding a matching one. Luckily, one of my amazing Instagram followers helped me out and found a match in her area and mailed it to me and I’m so thankful!! If you are in need of a bath mat, definitely give these a try! They  are reasonably priced too, they range from $15-$25.

IMG_2815  IMG_2422

Someone else seems to love them too! You can often find him on these while we’re getting ready…but I can’t blame him!IMG_2802b

Tips for Decorating with Plants

I’ve never had much interest in buying real plants and flowers until we got married and I had a house that I was trying to cozy up! I bought a few things for our old house but never had much luck, they would always die within a couple weeks due to over or under watering. When we moved into our new house I was determined to work on my “green thumb” so I’ve been slowly adding plants inside and out. I still use faux plants and faux flowers but I do prefer the real ones.

Here are a few tips I’ve learned since being in our new house:

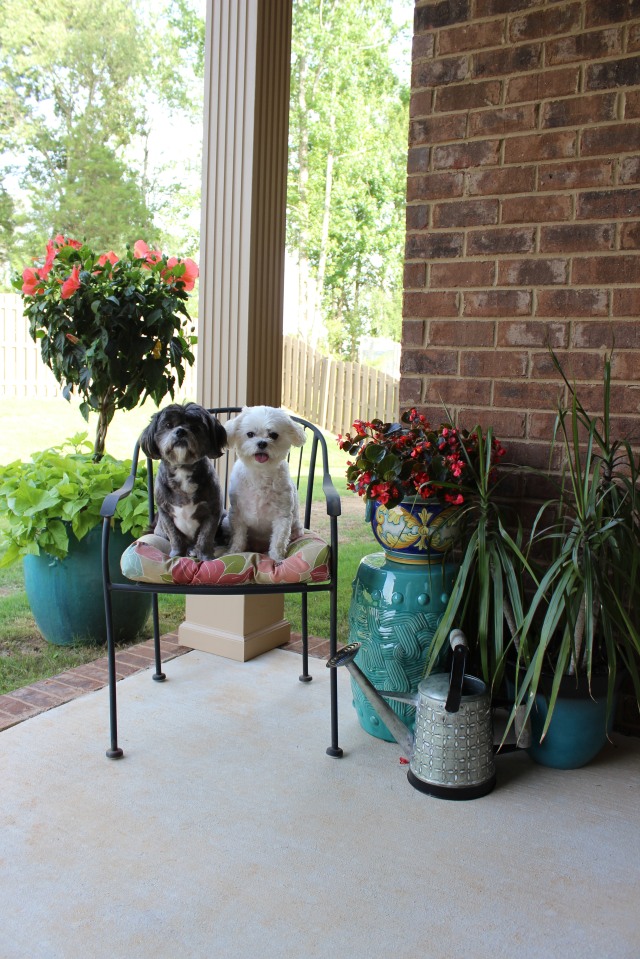
– Take it one plant at a time. Sure, I would love to have my flower bed full of all different types of plants and flowers, or my porch with an assortment of plants in pots, but plants can be expensive and I can’t afford to do it all at once. I will typically pick up about two a month so it’s not too much of a burden on our budget but I am still working towards my goal of several plants and flowers. I also used our credit card rewards to get a Lowes giftcard to go towards plants.
IMG_2339

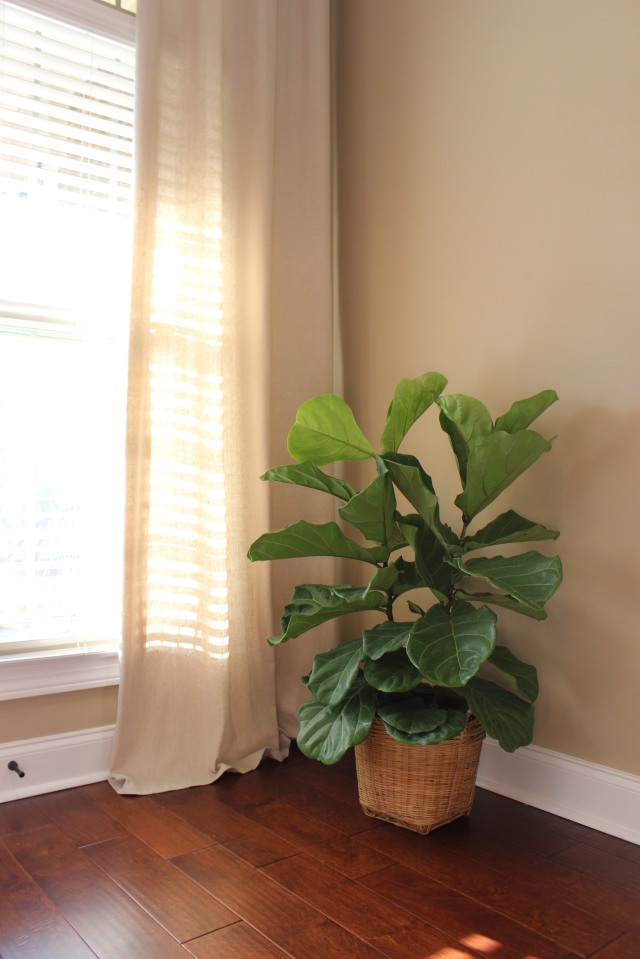
– Do your research! I kept seeing fiddle leaf fig trees all over the home décor world and had to have one, you may remember it from here. I did a little reading up on it and learned that they like bright areas but can’t get any direct light. They also only require about 1 cup a water a week. Knowing things like this are crucial to the success of a plant so it’s great to know all of that information!
IMG_2901

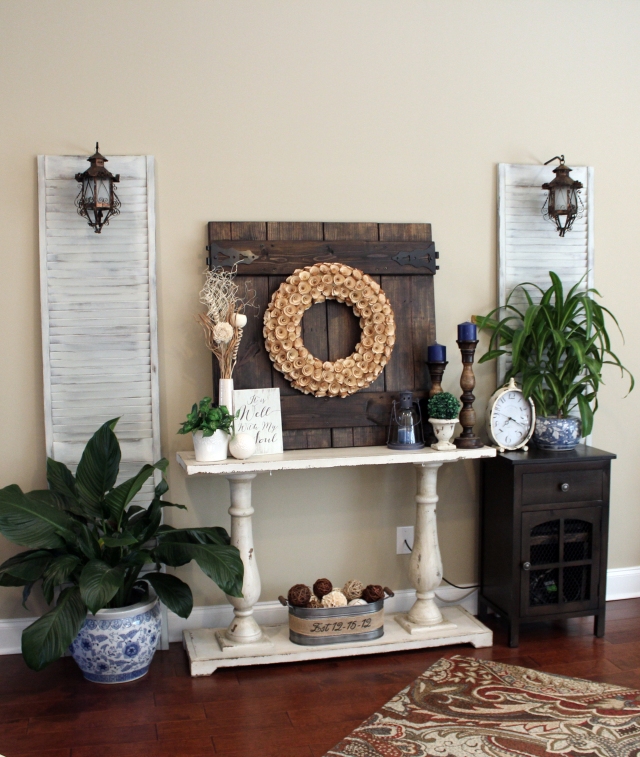
– Most plants will let you know when they are “hungry”. I think my problem in the past was over watering plants. I am starting to learn to “listen to the plant”, sounds really crazy, right? But it’s true! Most flowers and plants will start to curl or droop when they need water, I often will wait until they start doing that to water them and then they’ll perk back up! This helps prevent from over watering like I’m known to do! I have some plants that require watering every day, some every other day and some that are more like once a week so it’s hard to know exactly how often without paying attention to the signs they give.
IMG_2887b

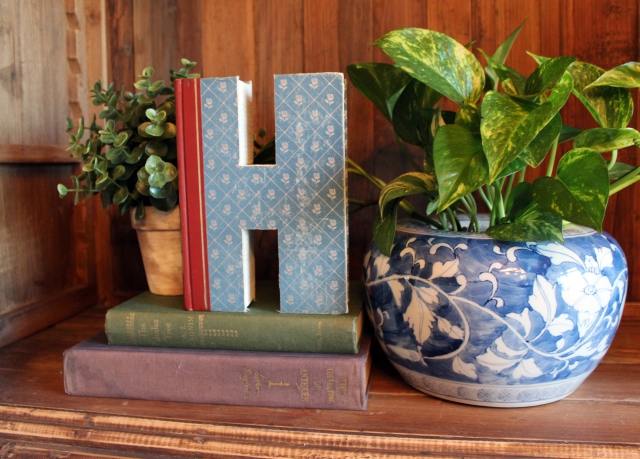
– Pots and Planters are the perfect thing to shop for second hand! Almost ALL of my pots and planters are from garage sales, estate sales, thrift stores or clearance finds. By getting great deals on the pots, it makes these plants much more affordable. I got this blue vase at a garage sale for under $5 and I paid $2.98 for the ivy making this plant very affordable.
IMG_2995b

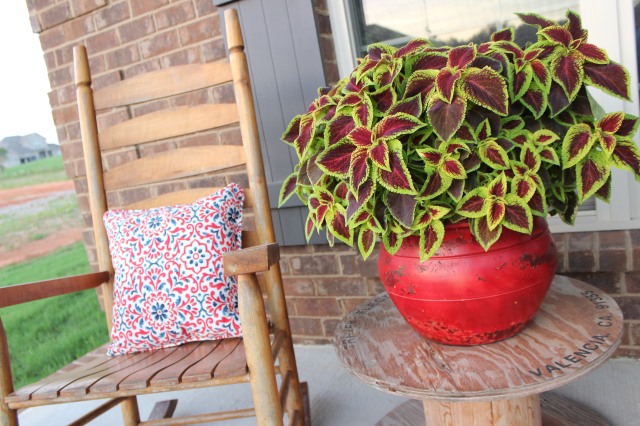
– Don’t be afraid to change up your pots. This was a clay pot left behind from the previous owners of our old house so it’s probably at least 10 years old. I have spray painted it so many times I can’t remember, it cracks and chips and I just spray right over it again, it gives it character it was free so we might as well use it!
IMG_2832

I got this pot of mixed flowers from a nursery this year. Instead of repotting it, I just dry brushed the pot with white paint to tone down that orangy clay to help it match the rest of of my porch décor.
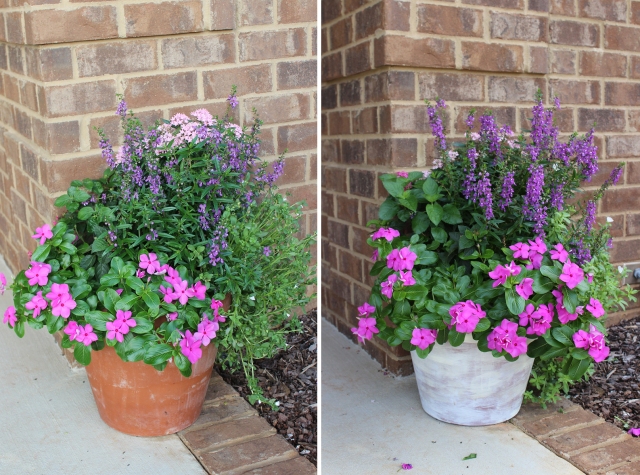
pot-before-after

I am no gardening expert but I have really enjoyed having lots of flowers and plants inside and out! There is just something very warm and welcoming about adding plants to your space. I hope these tips may help you feel a little more comfortable branching out and trying to add some greenery to your space!

Things I Love Thursday – Sam’s Club Potting Bench

I have already shared this with my social media friends to let anyone know to run grab one while they’re still available but I thought I’d share this on the blog as well in case anyone missed it that may want one for themselves!

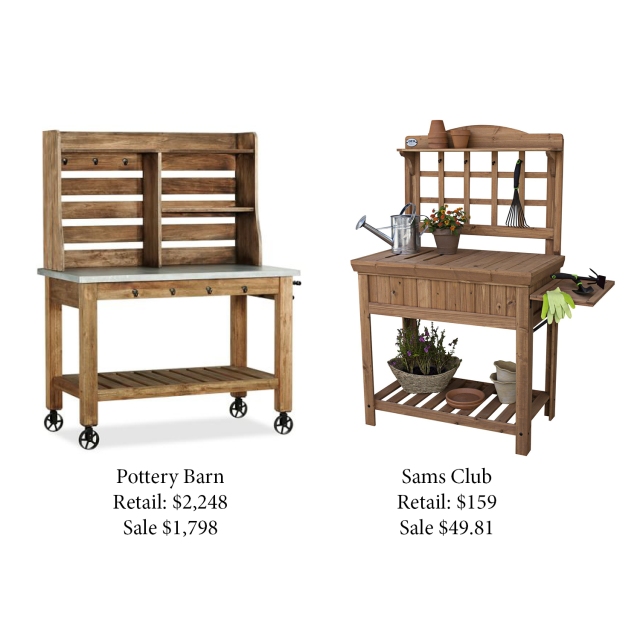
I’ve wanted a potting bench for our back patio for quite a while. It’s the perfect piece for parties and just adds so much character to the patio. I fell in love with the one from Pottery Barn (of course) but it’s never going to fit into my budget so when I saw this cedar potting bench at Sam’s Club earlier this summer, I knew it was the perfect Look for Less.

pottingbench

I was given some money for my birthday and immediately knew I was going to spend it on that potting bench. There was no rush to buy it so I’ve been going every weekend to check the price and quantity in stock. I’ve slowly watched the price reduce several times over the past month and finally this week went to check and it was a price I was happy paying. I scored this Cedar Potting bench for $49.81 which was about 75% off and a STEAL! I am SO thrilled to finally have it! It will be so great when we have people over and just a great piece for holding plants and flowers and making our patio that much more welcoming! Run get you one while you can!

Seagrass Wall Art Idea

Seagrass+Rug+WallArt4

My husband and I took a trip to Chattanooga and Atlanta this past weekend and did quite a bit of shopping. I’m very fortunate to have a husband that is perfectly happy spending time running in all the home décor stores that I love to shop at. One of our favorites to go in is World Market (especially since the closest one to us is two hours away).

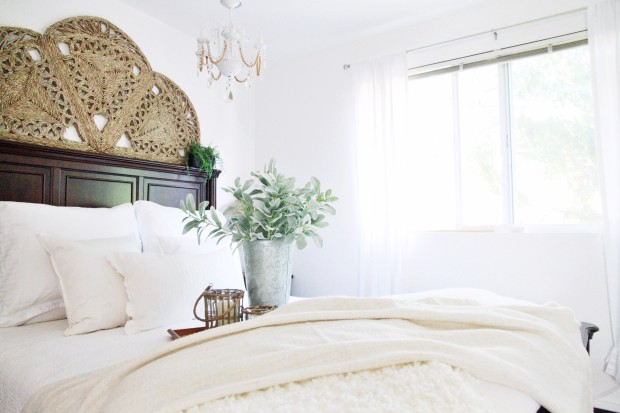
I was checking out these Seagrass rugs that I had seen my friend Annie from ZevyJoy use as a headboard (see below), isn’t she brilliant? I definitely bought one with intentions of using it in a similar way eventually!

Rug-Headboard

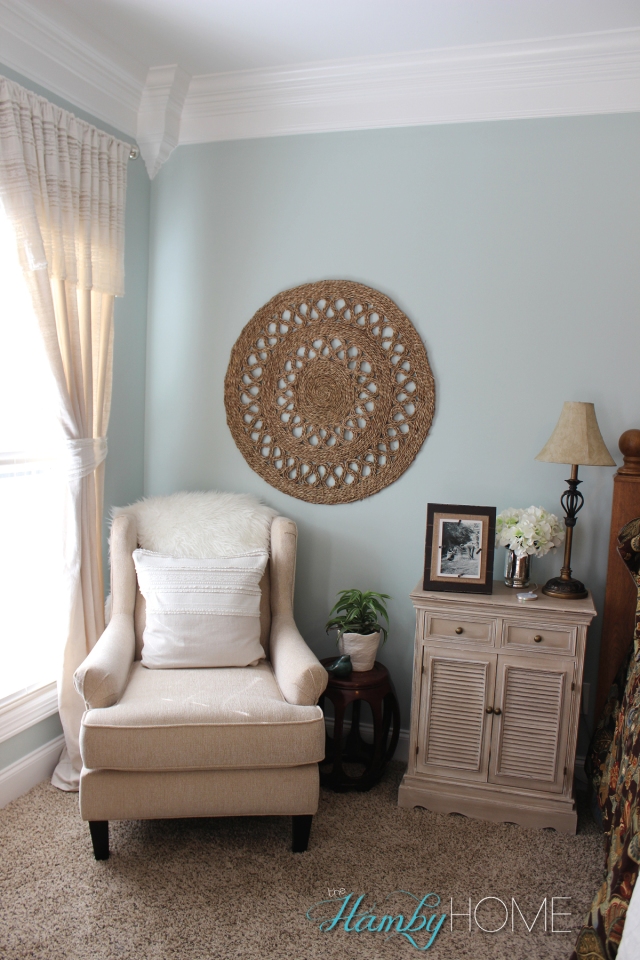
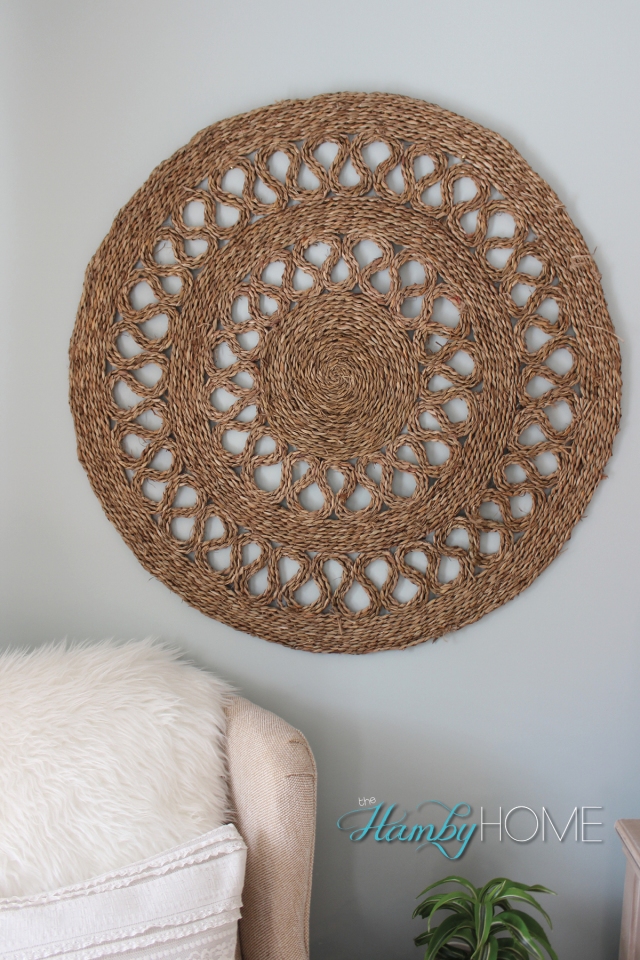
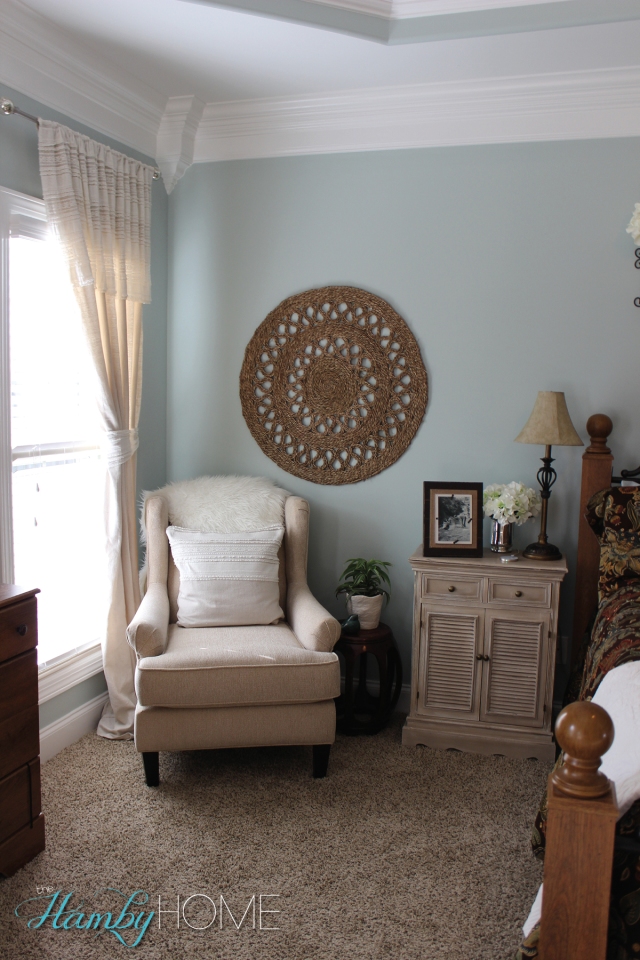
As I was checking out the Seagrass rugs, I found a smaller round rug that reminded me a little of the Mandala that I had won from Salvage Dior which gave me the idea, why not use it as wall art? This rug makes the perfect wall art; it adds so much texture and is super affordable and large. They’re currently 50% off and I had a 15% off coupon because I’m a member of their rewards program which made this under $5 with tax!! YOU CANNOT BEAT THAT PRICE for something that large! I love that I can use it as a rug or wall art and it would be great to use indoor or outdoor in either way, there is just so many options!

You can buy one here. This is not a sponsored post, I am just that excited to find affordable wall art to share with all of you!

Seagrass+Rug+WallArt2 Seagrass+Rug+WallArt

DIY Moss Initial

DIY_Moss_Initial

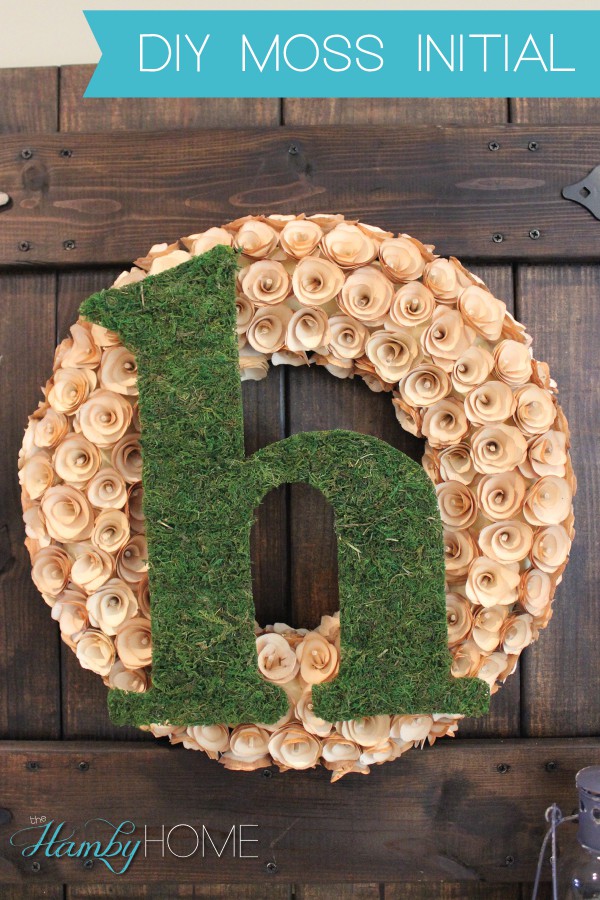
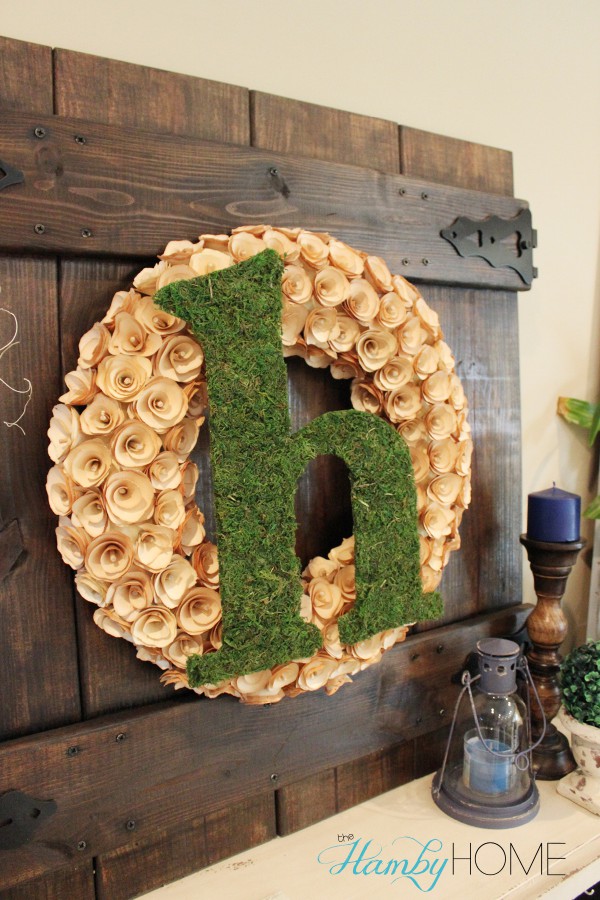
This is a super simple DIY project that I have had on my to do list for almost two years. I love Moss Initials; they’re perfect for front doors, gallery walls and just to hang over old windows, frames, etc.

Supplies

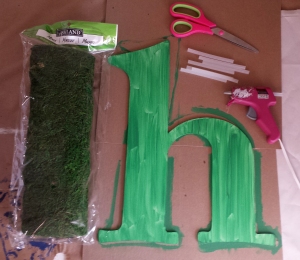
Supplies Needed:

  • Wooden Initial
  • Green Paint
  • Roll of Moss
  • Hot Glue
  • Scissors

Here is how to make them:

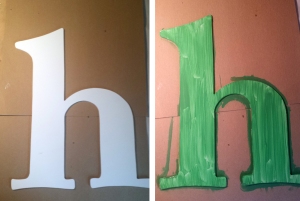
Step 1: Paint Initial Green including the sides. The moss sheets are thin in places but if your initial is green, it won’t be noticeable. This is an easy step to camouflage the wooden initial underneath.

DIY_Moss_Initial_Step-Paint

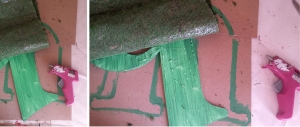
Step 2: After the initial has dried, Roll out the moss to be a little larger than the initial and trim. This will leave you with a square or rectangle of moss on top of your initial.

Step 3: Start Hot Gluing. I just chose one edge of the initial and started there, gluing along the outside of the letter and roughing filling in the inside as well. Complete this until you have glued the entire letter.

DIY_Moss_Initial_Steps-Gluing

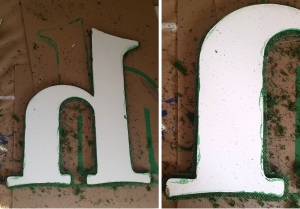
Step 4: Start trimming the moss around the letter. I left a little bit of moss hanging over the wooden initial to make sure you don’t see the letter behind the moss.

DIY_Moss_Initial_Steps-Trim

That’s it! It’s a little messy but such a simple DIY. It’d be super cute with a burlap bow!

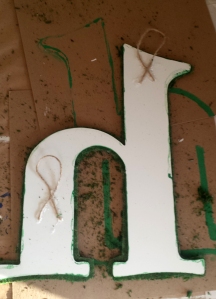
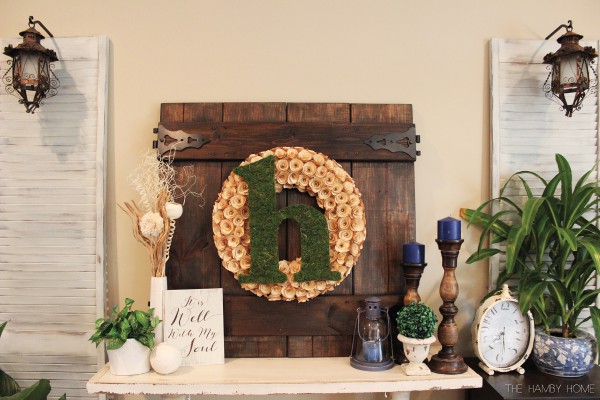
I like to hang things on top of my wood rosette wreath so I added two little twine hangers that I could hook around the rosettes without being too obvious.

hangers

DIY_Moss_Initial_V2 DIY_Moss_Initial_h