Tips for Decorating with Plants

I’ve never had much interest in buying real plants and flowers until we got married and I had a house that I was trying to cozy up! I bought a few things for our old house but never had much luck, they would always die within a couple weeks due to over or under watering. When we moved into our new house I was determined to work on my “green thumb” so I’ve been slowly adding plants inside and out. I still use faux plants and faux flowers but I do prefer the real ones.

Here are a few tips I’ve learned since being in our new house:

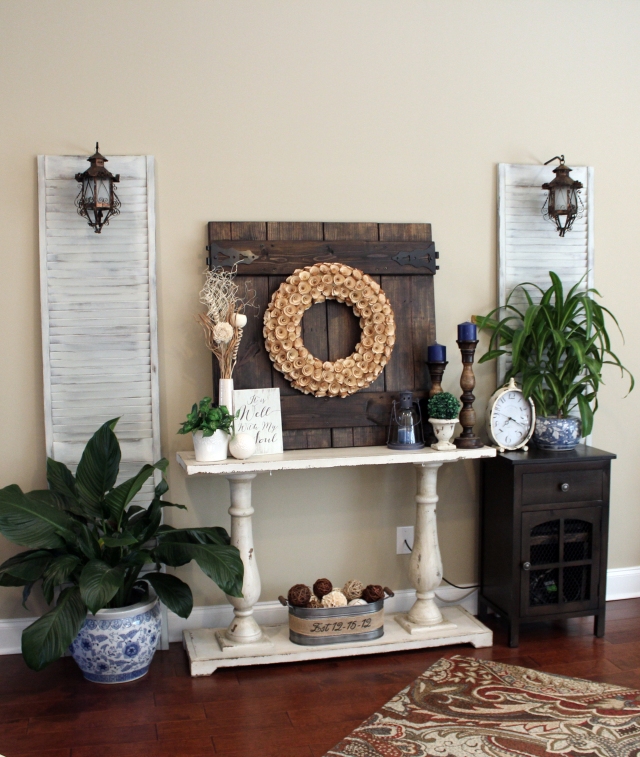
– Take it one plant at a time. Sure, I would love to have my flower bed full of all different types of plants and flowers, or my porch with an assortment of plants in pots, but plants can be expensive and I can’t afford to do it all at once. I will typically pick up about two a month so it’s not too much of a burden on our budget but I am still working towards my goal of several plants and flowers. I also used our credit card rewards to get a Lowes giftcard to go towards plants.

IMG_2339

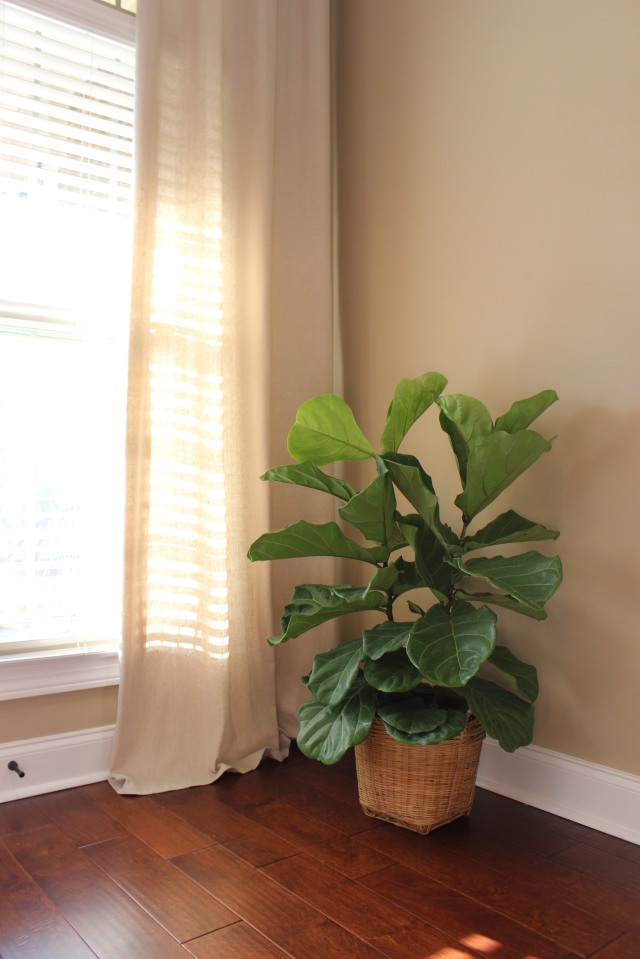
– Do your research! I kept seeing fiddle leaf fig trees all over the home décor world and had to have one, you may remember it from here. I did a little reading up on it and learned that they like bright areas but can’t get any direct light. They also only require about 1 cup a water a week. Knowing things like this are crucial to the success of a plant so it’s great to know all of that information!

IMG_2901

– Most plants will let you know when they are “hungry”. I think my problem in the past was over watering plants. I am starting to learn to “listen to the plant”, sounds really crazy, right? But it’s true! Most flowers and plants will start to curl or droop when they need water, I often will wait until they start doing that to water them and then they’ll perk back up! This helps prevent from over watering like I’m known to do! I have some plants that require watering every day, some every other day and some that are more like once a week so it’s hard to know exactly how often without paying attention to the signs they give.

IMG_2887b

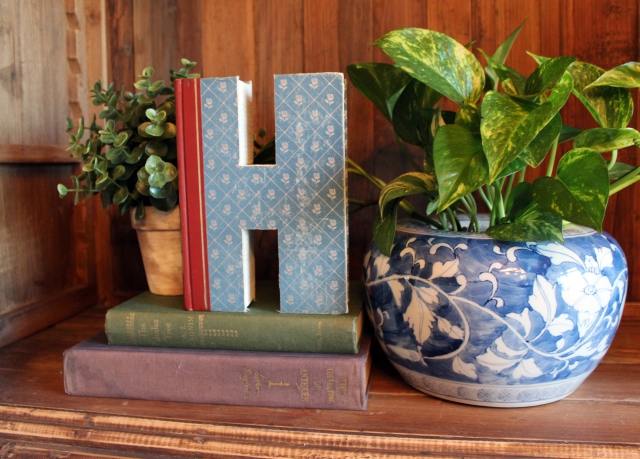
– Pots and Planters are the perfect thing to shop for second hand! Almost ALL of my pots and planters are from garage sales, estate sales, thrift stores or clearance finds. By getting great deals on the pots, it makes these plants much more affordable. I got this blue vase at a garage sale for under $5 and I paid $2.98 for the ivy making this plant very affordable.

IMG_2995b

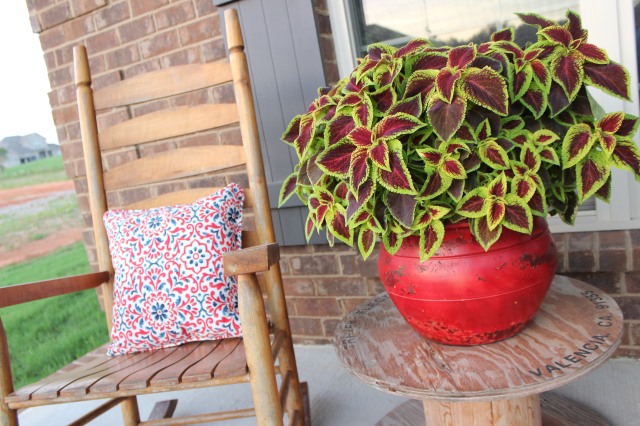
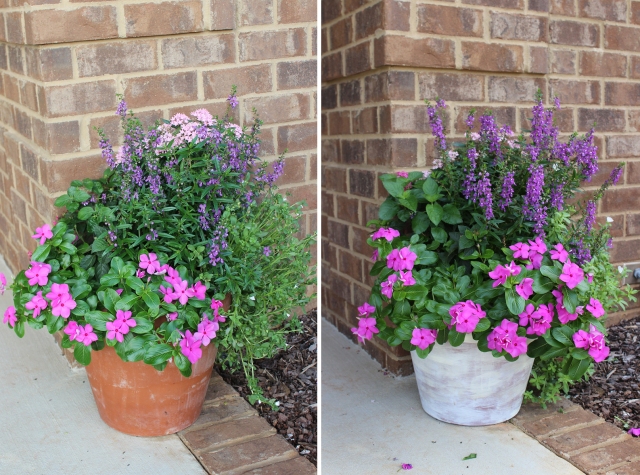
– Don’t be afraid to change up your pots. This was a clay pot left behind from the previous owners of our old house so it’s probably at least 10 years old. I have spray painted it so many times I can’t remember, it cracks and chips and I just spray right over it again, it gives it character it was free so we might as well use it!

IMG_2832

I got this pot of mixed flowers from a nursery this year. Instead of repotting it, I just dry brushed the pot with white paint to tone down that orangy clay to help it match the rest of of my porch décor.

pot-before-after

I am no gardening expert but I have really enjoyed having lots of flowers and plants inside and out! There is just something very warm and welcoming about adding plants to your space. I hope these tips may help you feel a little more comfortable branching out and trying to add some greenery to your space!


No Sew Drop Cloth Curtains

dropclothcurtains22I have had a very hard time finding curtains that were budget friendly and the length that I needed for our living room. I’ve seen many different tutorials on drop cloth curtains and decided to give it a shot and I’m SO glad that I did!! I’m not going to go through all the steps because there are lots of DIY tutorials out there that do a great job of showing the steps but I did think I would answer some of the questions I was asked on Instagram. I found this tutorial to be the best for my particular project: http://mariaelenasdecor.blogspot.ca/2013/11/no-sew-outdoor-drop-cloth-curtains-with.html

Price Break Down:

Lowes – 15 ft x 4 ft Drop Cloths – $16.98 each

Hobby Lobby – Large Curtain Grommets – $5 each with 40% off coupon (yes – I took two trips to save my $3)

Stitch Witchery – already had in supplies

Curtain Rods – Tuesday Morning for $9.99 each

If you are considering making some of your own, here are a few things you may find helpful!

  • Wash and Dry them before you start this project. They can shrink up a bit and it also makes them softer and gets rid of the odd smell out of the package.
  • Don’t assume that they are exactly the size it says on package. I did the math on how far apart the grommets should be and it wasn’t exactly 4 ft on either panel and the two were not the exact widths.
  • I debated between the ring clips and grommets but I’m so glad I did the extra work to add the grommets. It was easy to do and I think they give the curtains the appearance that they were more expensive than they were.
  • We hung the curtain rods and I went ahead and put the curtains on them and then I marked where to cut them. I measured where they touched the floor and then added 3 inches. Once I folded and “hemmed” with the stitch witchery that left about a 2.5 inch pool in the floor. These panels ended up being approximately 113 inches long.
  • I have about 60 x 48 inches left from each panel to use on a future project which may be perfect to add length to other curtains or to make pillow covers, etc.

dropclothcurtains dropclothcurtains2

24-day Challenge Tips

As I’m about to start my second 24-day challenge and help coach others through it, I started compiling some tips that really helped me through my first challenge. If you are a new challenger, I hope you find these helpful.

photo 3

1. Fiber Drink – Most people will tell you this is the worst part of the entire challenge. The good news is you only have to drink it 6 days of the challenge. When mixing your fiber drink, mix quickly with water and drink ASAP!! Do NOT let it sit before drinking- it will thicken. I have  bad gag re-fluxes and found that mixing it with a low calorie orange juice (like Trop50) was the only way I could get it down. I tricked my mind into thinking it was OJ with pulp.

2. It’s all about Planning Ahead – I spent time reading and understanding what my upcoming week was going to be like and making sure that I had all the food and things that I needed. I found that using a zip-lock system worked best for me since I work full time and have a busy schedule. I pre-packaged my full week in order. It kept me on track and made sure I took everything that was necessary for that day.

photo 4

Prepackaging snacks and meals for your day can help tremendously. Here are a few things I did to plan ahead for meals:

  • I kept sweet potatoes cut up in the fridge so I could pop a handful in the oven with some Mrs. Dash for quick and easy baked fries
  • I would boil several eggs at the same time and keep them in the fridge for tuna, a salad, or snack of protein
  • I would make a couple cups of oatmeal with cinnamon and fruit and separate them into smaller containers to have already prepared for breakfast or a snack
  • I would make extra food for dinner so that I had enough leftovers to eat it for several other meals. It was all about having something quick for me!

3. My grocery staples for the challenge included: eggs, egg beaters – egg whites, ground turkey, chicken, salsa, sweet potatoes, favorite veggies, rice, peanut/almond butter, favorite fruits, and oatmeal

We’d love for you to join us on our 24 day challenge group starting January 2nd. Email me at clconerly@yahoo.com for more info!

New Year Group Challenge Flyer