DIY Moss Initial

DIY_Moss_Initial

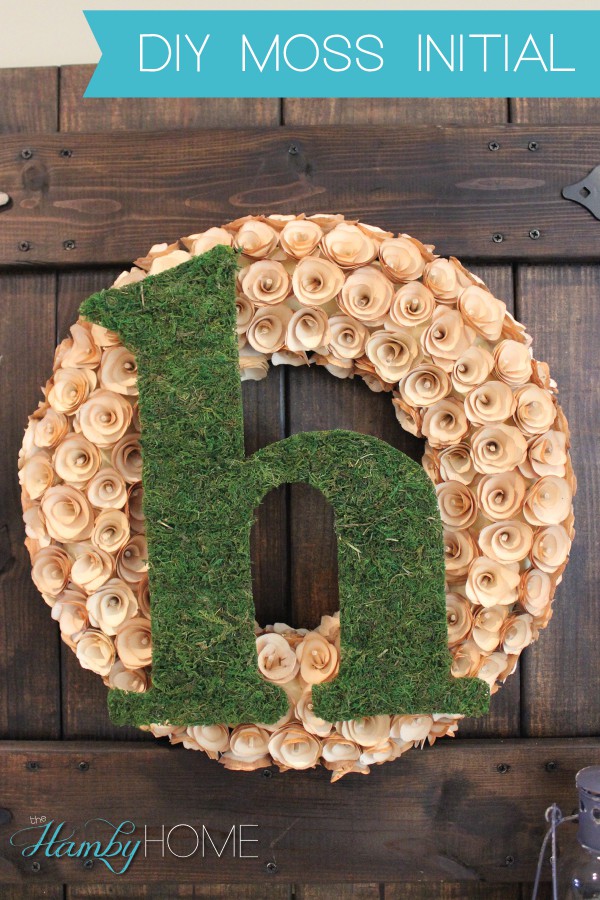
This is a super simple DIY project that I have had on my to do list for almost two years. I love Moss Initials; they’re perfect for front doors, gallery walls and just to hang over old windows, frames, etc.

Supplies

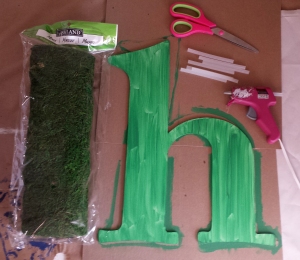
Supplies Needed:

  • Wooden Initial
  • Green Paint
  • Roll of Moss
  • Hot Glue
  • Scissors

Here is how to make them:

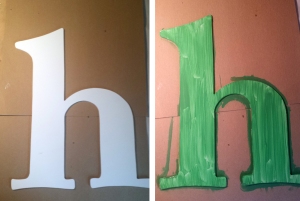
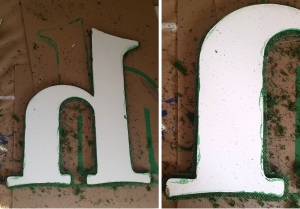
Step 1: Paint Initial Green including the sides. The moss sheets are thin in places but if your initial is green, it won’t be noticeable. This is an easy step to camouflage the wooden initial underneath.

DIY_Moss_Initial_Step-Paint

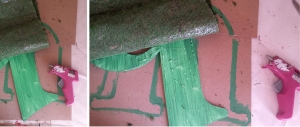
Step 2: After the initial has dried, Roll out the moss to be a little larger than the initial and trim. This will leave you with a square or rectangle of moss on top of your initial.

Step 3: Start Hot Gluing. I just chose one edge of the initial and started there, gluing along the outside of the letter and roughing filling in the inside as well. Complete this until you have glued the entire letter.

DIY_Moss_Initial_Steps-Gluing

Step 4: Start trimming the moss around the letter. I left a little bit of moss hanging over the wooden initial to make sure you don’t see the letter behind the moss.

DIY_Moss_Initial_Steps-Trim

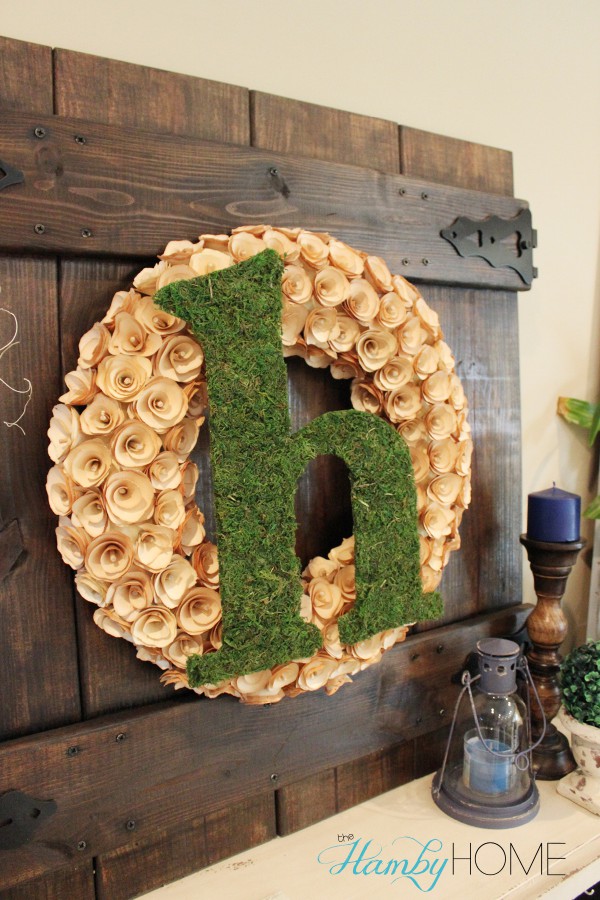
That’s it! It’s a little messy but such a simple DIY. It’d be super cute with a burlap bow!

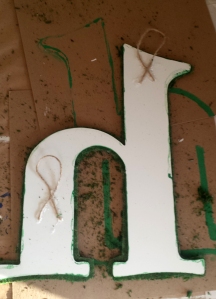
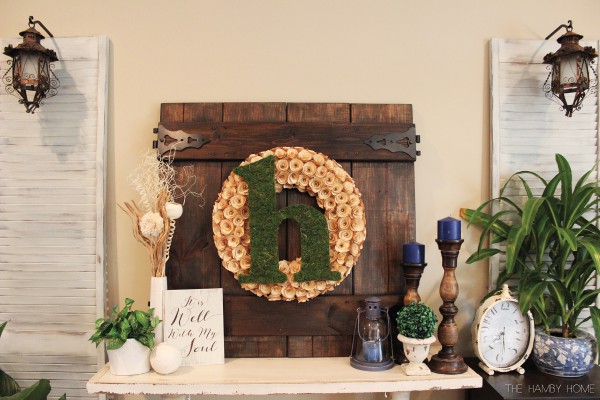
I like to hang things on top of my wood rosette wreath so I added two little twine hangers that I could hook around the rosettes without being too obvious.

hangers

DIY_Moss_Initial_V2 DIY_Moss_Initial_h

SIMPLE DIY CUSTOM SIGN

Simple_DIY_Custom_Signs

I’m happy to be back over at the Landeelu blog to share another simple DIY project with you. This project is so simple that I did most of it on a plane, yes you heard me right! I’m sure many of you see these beautiful, beautiful signs that you would love to have in your home but that price tag is just not fitting into the budget. Well now you can make them for yourself!

Go check out how to make this Simple DIY Custom Sign!

Patriotic Porch Decor

Last week I shared with you my budget friendly patriotic vignette and today I’m going to share with you a couple of the small additions I added to the porch to give it a patriotic flare.

I am leading a women’s crafting small group at my church and last week we made these fabric strip flags. They’re super easy, affordable and perfect to hang on my front porch post. I just got several different types of fabric, cut strips and hot glued them on a paint stick, super simple!

Patriotic_Decor_V3

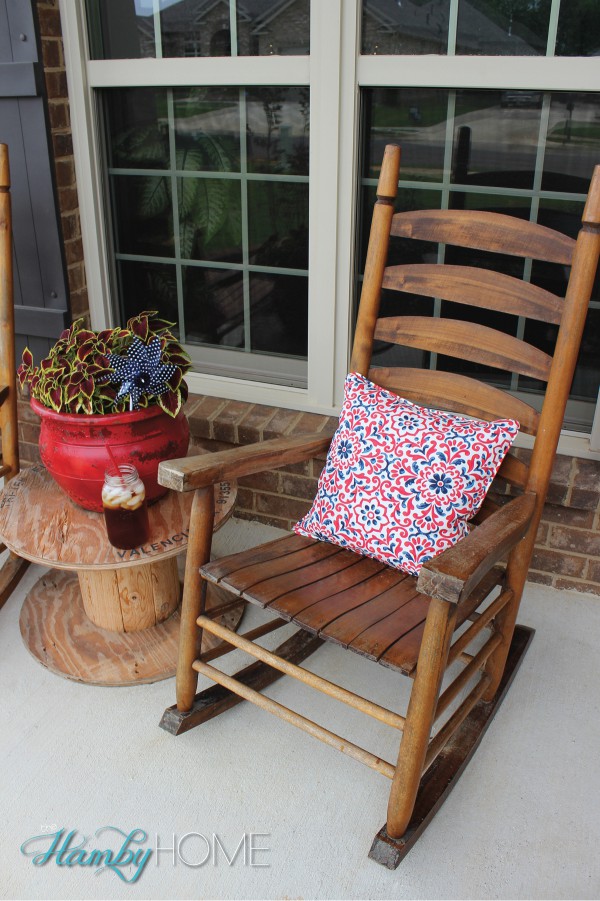
The previous owner of our last house left this clay pot out front. I have spray painted it several times and it’s chipped and in rough shape but I still love it and use it and as I always say “FREE is for ME”. I added a pinwheel from Walmart just to make it a little festive. And if you’re sitting on the porch in a rocker, you NEED a glass of sweet tea, right? 🙂

Patriotic_Decor_V

I bought these outdoor throw pillows from Home Goods and loved that they were red white and blue but not too patriotic to be seasonal.

Patriotic_Decor_V2

IMG_1571


My Budget Friendly Patriotic Vignette

You may remember my budget friendly Easter vignette that cost me under $10, well now I’m back to bring you my budget friendly decor for Memorial Day and the 4th of July! This is my first time to decorate for Memorial Day or July 4th so I tried to be creative with DIY and as many budget friendly ideas as possible.

Patriotic_Decor_V4


I didn’t want to buy a new wreath and I didn’t have time to make a cool rustic flag so I just hung a DIY burlap hanger that I made last year on a wreath I already had. Burlap hangers are very inexpensive DIY projects and there are so many cute ideas out there.

Using some scrap burlap I had in my craft supplies, I made this pennant banner. I just used white and red burlap and painted two pennants blue with some stars. This was a quick and free DIY project to use with my patriotic vignette.

I already had blue candles and printed a free printable I found online to frame.

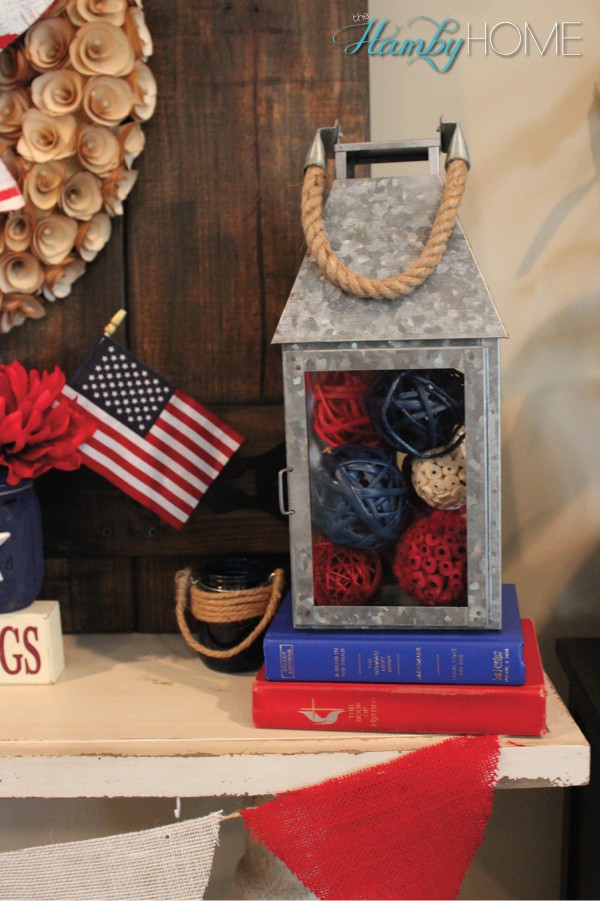
Patriotic_Decor_HI painted and distressed some mason jars I had around the house (FREE) and just hung these cute galvanized stars that I got from the Target Dollar Spot. The flowers were some I already had and the little sign was a clearance find from Kirklands around Thanksgiving.

Patriotic_Decor_V5I love using thrift store books to add height and color. They’re really inexpensive and an easy decor item. I already had some decorative ball filler that was red and natural so I picked up a few from the thrift store and spray painted them blue to use along with what I had. It’s inexpensive and easy filler for lanterns or bowls, baskets, etc. The little blue vase with twine was a clearance find from Hobby Lobby that I picked up this week!

Patriotic_Decor_H2

This entire Patriotic vignette cost me less than $10 by using what I had and utilizing thrift store finds.

Here is my cost breakdown:

  • Stars – $2
  • Thrift Store Decor Balls $1
  • Thrift Store Books $1
  • Flag from Walmart $1 for 4 pack
  • Blue vase with twin – Hobby Lobby $1.60

My goal for sharing my holiday decor is to share that it doesn’t mean you have to go buy all new holiday decor if you want to decorate for the holidays. Be resourceful with what you have and what you can DIY. There are lots of cute patriotic printables on Pinterest for banners, flags, pinwheels, etc. I am not a fan of spending a lot of money to decorate on holidays other than Christmas but I love changing it up a little for a month or so!


DIY No Sew Dropcloth & Lace Pillow Covers

DY_Dropcloth_Lace_PillowCover

What do you do when you have left over drop cloth from these DIY curtains and leftover lace from these curtains…well you make matching pillow covers of course! Let me be honest…I DO NOT SEW!!! My husband has a pair of pants that need a button sewed back on and he should just take those to the alterations place…I just don’t do it. I usually save up all my items that need buttons or stitching for when my grandma is in town (once a year). I’m that bad… but this fabric tape is MAGICAL! I used stitch witchery on the first set of curtains but I’m over it and now I will only be using the fabric tape because it’s easier and I am lazy! J The curtains and pillow covers are the first sewing-like project I’ve done so I’m learning as I go!

Supplies:

  • Dropcloth
  • Lace
  • Fabric Tape
  • Pillow – I just used some throw pillows we were no longer using

This was all leftover DIY supplies so the only thing I had to buy was more fabric tape because I ran out after the first pillow.

How to Make the No Sew Drop Cloth Cover:  I used this tutorial to make the No Sew Drop Cloth Pillow Cover for the first part of the pillowcase and she does an excellent job of explaining how to make the drop cloth portion of the cover. I’ll walk you through it but you can refer to her tutorial as well.

Step 1: You will need two squares that are larger than the pillow that you’re covering for one pillow case. My pillow was 18 x 18. I added 3 inches on one side and 7 inches on the other side that will be tucked in so I cut my squares to be 21×25-ish.

DIY_DropclothLace_Pillow_Steps

Step 2: Lay one piece on top of the other making sure that the sides of the fabric for the pillow are facing each other. Top piece facing down and bottom piece facing up. (This will be turned inside out later).

Step 3: Using the oh so magical fabric tape, apply along the edges of one short side and both longer sides making sure it’s not too close to the edge.

DIY_DropclothLace_Pillow_Steps2

Step 4: Iron the drop cloth and especially the edges to secure the “seam”.

DIY_DropclothLace_Pillow_Steps3

Step 5: Flip right side out and insert pillow. Tuck the open edges in like shown in picture. Fluff it a bit and Voila!

DIY_DropclothLace_Pillow_Steps4

How to Add the Lace: First off, let me say that there is probably a better way to do this. This pillow ended up being kind of like a mullet…business in the front and party gone wrong in the back. Luckily nobody should ever see the back of these pillows except us since they’re in the bedroom but I’ll just show you how I did them… but you may want to try another method!

Step 1: Figure out how much lace you want covered the front and how you want it to lay. I decided I wanted the top part with lace and the bottom just plain drop cloth so I drooped the lace over and found where I wanted it to hit the pillow and then gently laid it face down.

DIY_DropclothLace_Pillow_Steps5

Step 2: Start taping the lace to the back panel. I taped the sides first to make sure I kept the lace horizontally even on the pillow. Then I folded the top over and taped it to the back. I added some tape on the sides of the fold to secure them down.

DIY_DropclothLace_Pillow_Steps6

See…it’s not pretty but hey, it worked!

Hindsight, I probably would have added the lace on the front of the drop cloth panel prior to creating the pillow cover. If I had done that the lace would have only covered the front panel and the edges would have been hidden on the inside of the pillow cover. This is what happens when you wing it with DIY…you live and learn! 🙂

Luckily I love how they look from the front so I’m not too upset about how awful the party in the back looks! 😉 Plus they work perfect in the bedroom with the DIY curtains from last week!

DY_Dropcloth_Lace_Pillows_H DY_Dropcloth_Lace_Pillows_V DY_Dropcloth_Lace_Pillows_H3