DIY Moss Initial

DIY_Moss_Initial

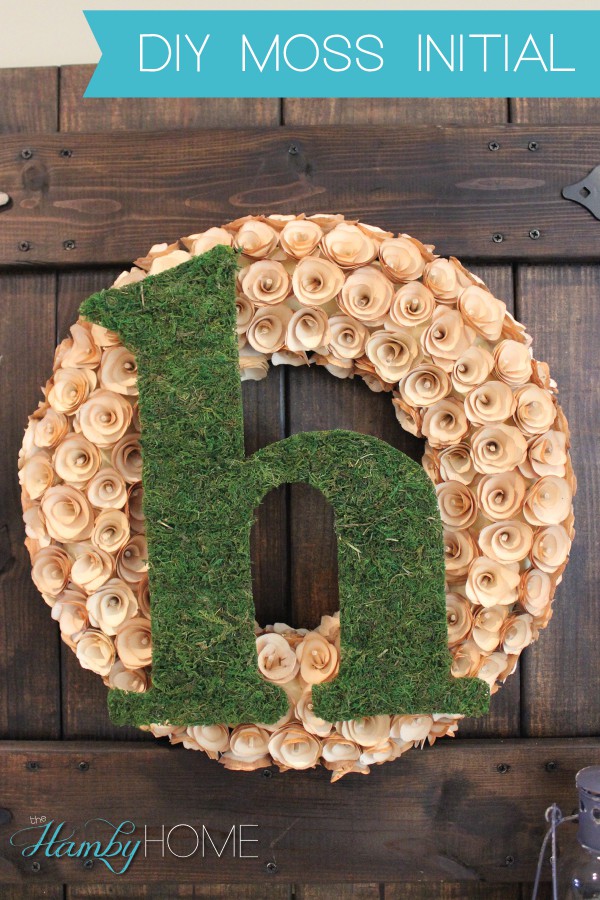
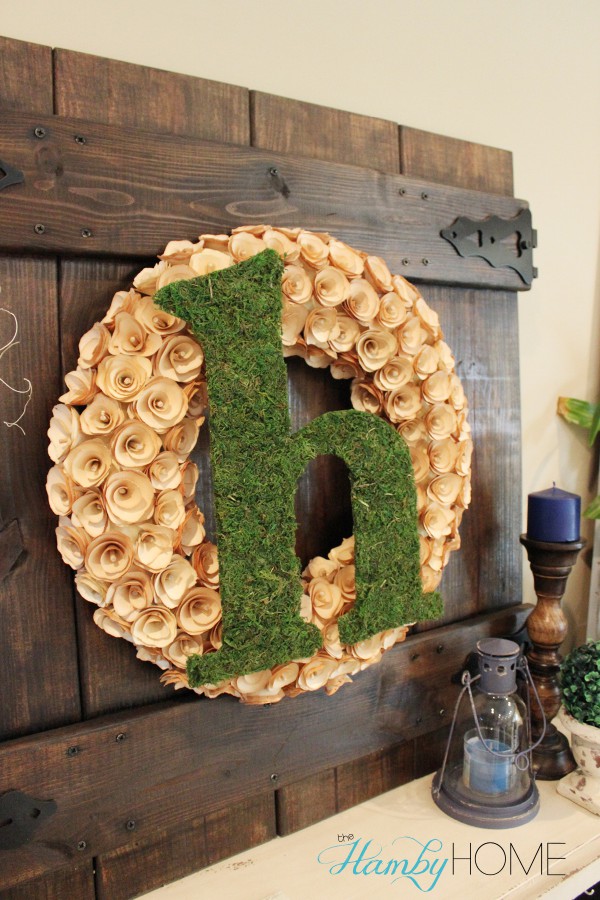
This is a super simple DIY project that I have had on my to do list for almost two years. I love Moss Initials; they’re perfect for front doors, gallery walls and just to hang over old windows, frames, etc.

Supplies

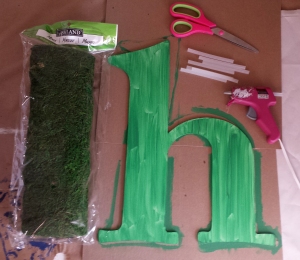
Supplies Needed:

  • Wooden Initial
  • Green Paint
  • Roll of Moss
  • Hot Glue
  • Scissors

Here is how to make them:

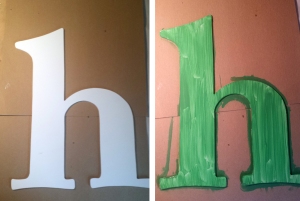
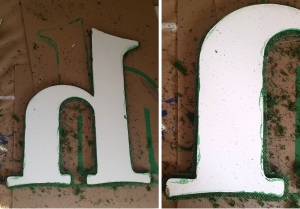
Step 1: Paint Initial Green including the sides. The moss sheets are thin in places but if your initial is green, it won’t be noticeable. This is an easy step to camouflage the wooden initial underneath.

DIY_Moss_Initial_Step-Paint

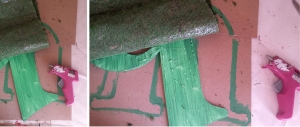
Step 2: After the initial has dried, Roll out the moss to be a little larger than the initial and trim. This will leave you with a square or rectangle of moss on top of your initial.

Step 3: Start Hot Gluing. I just chose one edge of the initial and started there, gluing along the outside of the letter and roughing filling in the inside as well. Complete this until you have glued the entire letter.

DIY_Moss_Initial_Steps-Gluing

Step 4: Start trimming the moss around the letter. I left a little bit of moss hanging over the wooden initial to make sure you don’t see the letter behind the moss.

DIY_Moss_Initial_Steps-Trim

That’s it! It’s a little messy but such a simple DIY. It’d be super cute with a burlap bow!

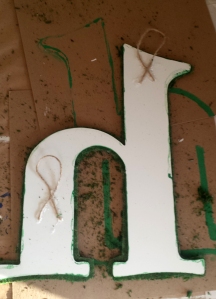
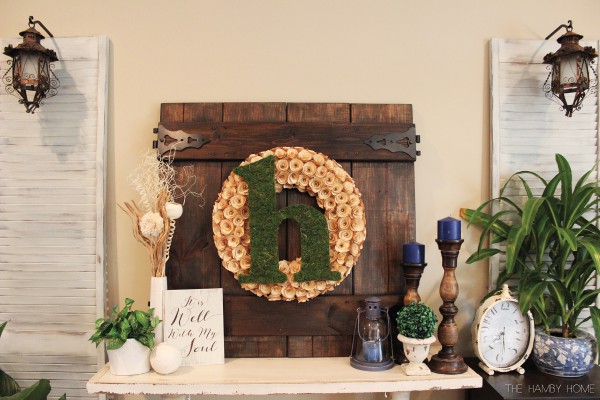
I like to hang things on top of my wood rosette wreath so I added two little twine hangers that I could hook around the rosettes without being too obvious.

hangers

DIY_Moss_Initial_V2 DIY_Moss_Initial_h

DIY No Sew Dropcloth & Lace Pillow Covers

DY_Dropcloth_Lace_PillowCover

What do you do when you have left over drop cloth from these DIY curtains and leftover lace from these curtains…well you make matching pillow covers of course! Let me be honest…I DO NOT SEW!!! My husband has a pair of pants that need a button sewed back on and he should just take those to the alterations place…I just don’t do it. I usually save up all my items that need buttons or stitching for when my grandma is in town (once a year). I’m that bad… but this fabric tape is MAGICAL! I used stitch witchery on the first set of curtains but I’m over it and now I will only be using the fabric tape because it’s easier and I am lazy! J The curtains and pillow covers are the first sewing-like project I’ve done so I’m learning as I go!

Supplies:

  • Dropcloth
  • Lace
  • Fabric Tape
  • Pillow – I just used some throw pillows we were no longer using

This was all leftover DIY supplies so the only thing I had to buy was more fabric tape because I ran out after the first pillow.

How to Make the No Sew Drop Cloth Cover:  I used this tutorial to make the No Sew Drop Cloth Pillow Cover for the first part of the pillowcase and she does an excellent job of explaining how to make the drop cloth portion of the cover. I’ll walk you through it but you can refer to her tutorial as well.

Step 1: You will need two squares that are larger than the pillow that you’re covering for one pillow case. My pillow was 18 x 18. I added 3 inches on one side and 7 inches on the other side that will be tucked in so I cut my squares to be 21×25-ish.

DIY_DropclothLace_Pillow_Steps

Step 2: Lay one piece on top of the other making sure that the sides of the fabric for the pillow are facing each other. Top piece facing down and bottom piece facing up. (This will be turned inside out later).

Step 3: Using the oh so magical fabric tape, apply along the edges of one short side and both longer sides making sure it’s not too close to the edge.

DIY_DropclothLace_Pillow_Steps2

Step 4: Iron the drop cloth and especially the edges to secure the “seam”.

DIY_DropclothLace_Pillow_Steps3

Step 5: Flip right side out and insert pillow. Tuck the open edges in like shown in picture. Fluff it a bit and Voila!

DIY_DropclothLace_Pillow_Steps4

How to Add the Lace: First off, let me say that there is probably a better way to do this. This pillow ended up being kind of like a mullet…business in the front and party gone wrong in the back. Luckily nobody should ever see the back of these pillows except us since they’re in the bedroom but I’ll just show you how I did them… but you may want to try another method!

Step 1: Figure out how much lace you want covered the front and how you want it to lay. I decided I wanted the top part with lace and the bottom just plain drop cloth so I drooped the lace over and found where I wanted it to hit the pillow and then gently laid it face down.

DIY_DropclothLace_Pillow_Steps5

Step 2: Start taping the lace to the back panel. I taped the sides first to make sure I kept the lace horizontally even on the pillow. Then I folded the top over and taped it to the back. I added some tape on the sides of the fold to secure them down.

DIY_DropclothLace_Pillow_Steps6

See…it’s not pretty but hey, it worked!

Hindsight, I probably would have added the lace on the front of the drop cloth panel prior to creating the pillow cover. If I had done that the lace would have only covered the front panel and the edges would have been hidden on the inside of the pillow cover. This is what happens when you wing it with DIY…you live and learn! 🙂

Luckily I love how they look from the front so I’m not too upset about how awful the party in the back looks! 😉 Plus they work perfect in the bedroom with the DIY curtains from last week!

DY_Dropcloth_Lace_Pillows_H DY_Dropcloth_Lace_Pillows_V DY_Dropcloth_Lace_Pillows_H3

TGIF House Tour – Master Bedroom

I have wanted to do a house tour for months but had a few projects I was hoping to complete before sharing. I’ve come to realize I’m never going to be 100% done so I might as well share how they look today even if something changes tomorrow. I’m starting with the Master Bedroom tour for one, because it’s one of the most completed rooms in the house and two, because it’s become one of my favorite spaces. This room is filled with lots of DIY projects which makes it even more special to me.

MasterBedroomTour5

Wall Color is Sherwin Williams Rainwashed. I love how peaceful the color is.

MasterBedroomTour4

 Read all about our bedding here.

MasterBedroomTour2

DIY Monogram Wall Art here and the details behind the sconces here.

MasterBedroomTour6

DIY Dropcloth and Lace Curtains tutorial here.

DIY Wedding Window tutorial here.

Find out all the details behind my Marriage Gallery Wall here.

MasterBedroomTour3

MasterBedroomTourV2

DIY Spool Clock Tutorial Here.

DIY Burlap Ampersand Canvas Tutorial Here.

MasterBedroomTourV3

Large Barnwood Mirror from Home Goods.

MasterBedroomTourV

MasterBedroomTourV4

Sign from the beautiful and talented Amanda Marks from HGTV Flipping the Block!

MasterBedroomTour

Night Stands purchased from a secondhand shop but they’re from Hobby Lobby

Bench from World Market

Well that’s all for the Master Bedroom. Make sure to stop by next Friday for another Home Tour!!

Spring Decor

Well, I realize that summer is approaching but I figure it’s better late than never! If you follow me on Instagram then you have probably seen most of my Spring décor but I kept hoping to add more or swap out some things but chances are that it won’t happen.


Spring_Decor_V

Sources:

Console Table – Wayfair

Spring Sign – Thrift Store Find for $6 – isn’t it adorable?!

Bloom Where Planted Free Printable here

DIY Floral Balls in Target One Spot Galvanized Buckets with butterflies from Amazon

Candlesticks – Home Goods

Books – Thrift Store Find

Lantern – Target

Moss Balls – DIY

Flowers and Garden Bucket with Flowers – Target One Spot

 Spring_Decor_H

Spring_Decor_V2

Spring_Decor_V5

Spring_Decor_H2

Spring_Decor_V3


Blue and White Vase – Thrift Store

White Flowers – Michaels Easter Clearance

Little Faux Greenery – Michaels

DIY Drop Cloth and Lace No Sew Curtains

I’ve been posting sneak peeks on Instagram all week and you can finally read about how I made my DIY No Sew Drop Cloth and Lace Curtains over at the Landeelu blog today!

DIY_Dropcloth_Lace_Curtains

I ran into a couple different obstacles that resulted in changing up the plan but overall I still love how they turned out! I’d love to hear what you think!